How to Delete an Email Account from Outlook?
Are you trying to tidy up your Outlook inbox by getting rid of an email account that's no longer necessary? Maybe you're transitioning to a new email service or just aiming to simplify your email management. In any case, understanding the process of removing an email account from Outlook is crucial. This article will lead you through each step of removing an email account from Outlook.
- Author: Shine
- Update: Jan 22, 2025

Why you would want to remove an email account from Outlook.
There are various reasons why this could be advantageous:
If you no longer use a specific email account, removing it from Outlook can be beneficial. It helps to declutter your email space and optimize your email management process. By doing so, you can direct your attention to the most important accounts and prevent any confusion.
In the case of transitioning to a new email provider, getting rid of the old Outlook account is crucial. This action safeguards you from receiving redundant emails and encountering sync - related problems.
Therefore, if you're eager to simplify your Outlook configuration and say goodbye to unwanted email accounts, it's time to explore this article. Here, you'll discover the steps to remove an email account from Outlook. But before we start, let's get the basics in order.
Things to Consider Before Deleting an Email Account from Outlook
Before deleting an email account from Outlook, there are a few important points to consider. First, removing an email account will disconnect it from the application, meaning you will no longer have access to that account's emails, contacts, and calendar events within Outlook.
Secondly, when you remove an email account from Outlook, the account isn't actually deleted. All that happens is that it is taken off Outlook's list of connected accounts. The email account remains intact and independent, and you can still gain access to it via other email clients or through web - based interfaces.
Moreover, it's essential to carefully verify that you truly no longer require or desire the Outlook email account prior to removing it. Once the account has been removed, within Outlook, you'll be unable to send, receive, or access emails from that particular account. Nevertheless, you can still log in to your Outlook account elsewhere to view your emails.Now that we have this clear understanding, let's proceed with the steps.
How to Delete an Account from the Outlook Mobile App
It's quite straightforward to remove an account from the Outlook app. Whether you're using an Android or an iOS device, the procedure remains identical. Nevertheless, for the sake of simplicity in demonstration, we'll be using an Android device.
Here's what you need to do:
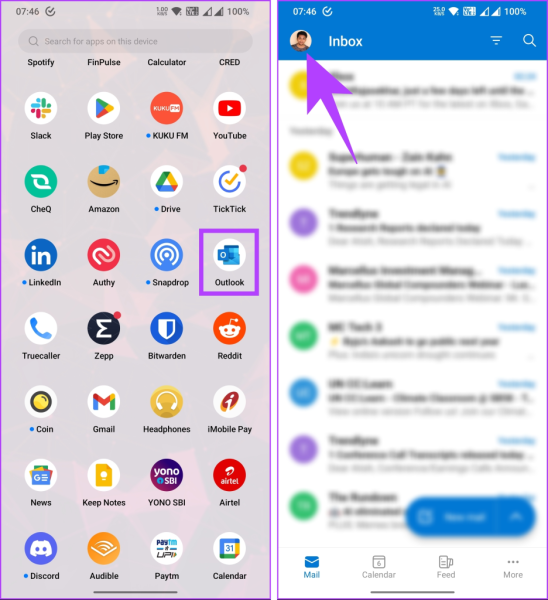
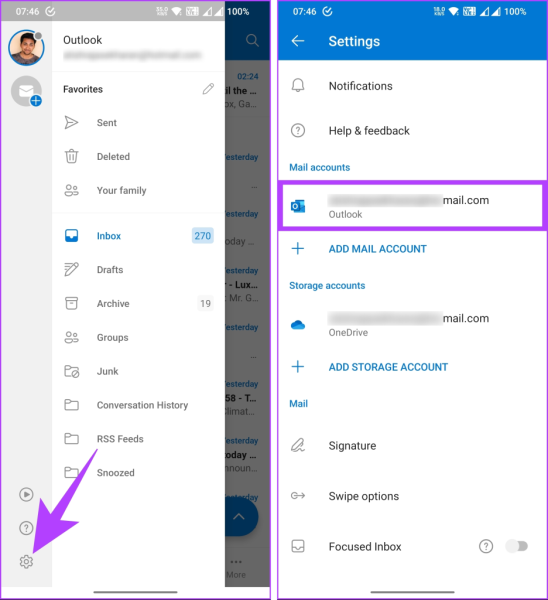
Step 1: Open the Outlook app on your Android device and tap your profile picture located in the top left corner.
Step 2: Go to the Settings (gear) icon. In the Settings screen, tap on your email account under the Mail accounts section.
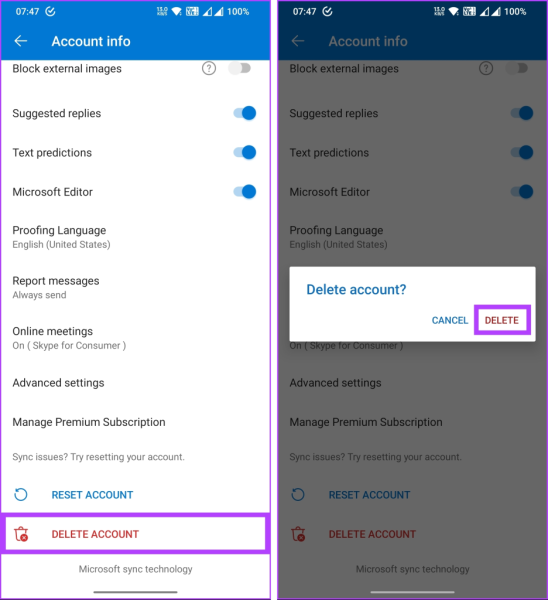
Step 3: In the Account info screen, scroll down and tap on Delete Account. Then, select Delete from the pop-up menu.
That's it! You have successfully deleted your Outlook account from the app. If you're using a desktop and would like to remove the account from the Outlook desktop application instead, keep reading.
How to Take an Account Away From the Outlook Desktop App
The Outlook desktop application allows users to manage multiple email accounts in one location, but there may be instances when you no longer need a specific account linked to it. Here’s how to remove an email address from Outlook.
On Windows
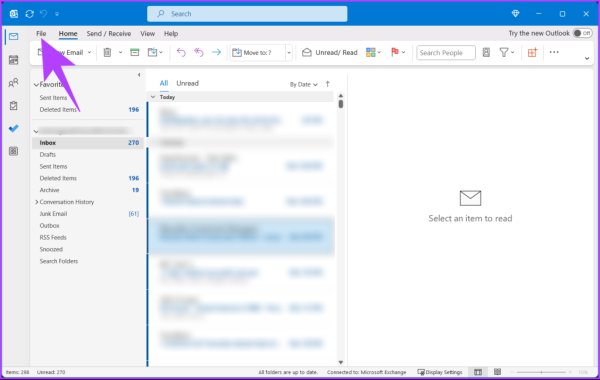
Step 1: Open Microsoft Outlook on your Windows PC and click on the File tab located in the top navigation menu.
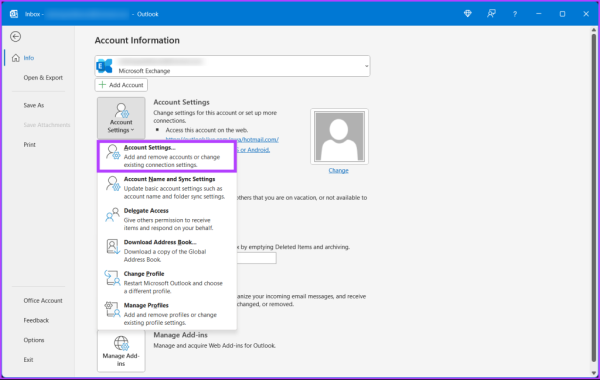
Step 2: Under Account Information, click on Account Settings, then select Account Settings from the dropdown menu.
Step 4: In the Account Settings window, find and move to the Data Files tab. Then, click on the Add button.
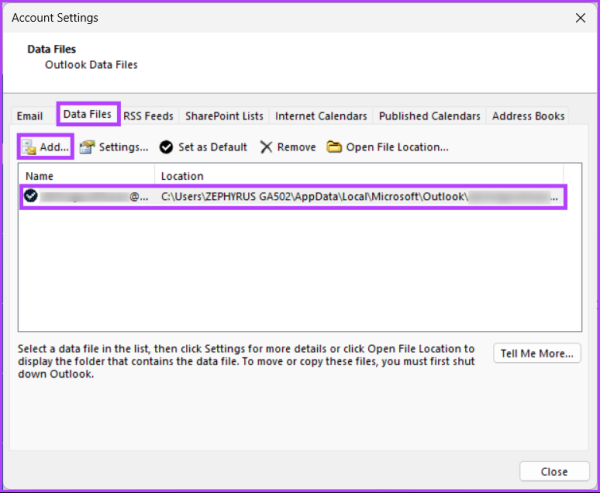
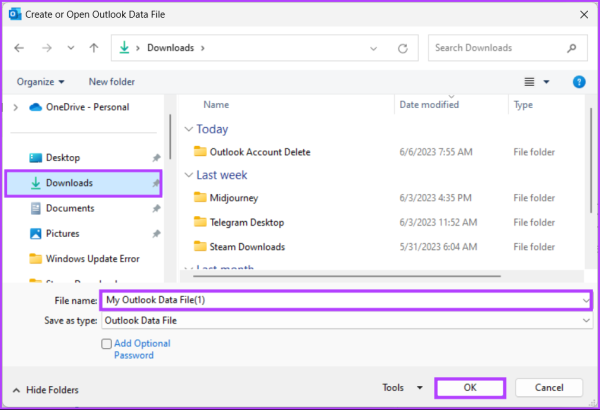
Step 5: Within the file manager, choose a destination where you want to store your data. After making the selection, click on “OK”. By doing this, all the data files associated with that particular email address will be backed up.
Step 6: Next, navigate to the Email section, select the email account you wish to remove, and click the Remove button.
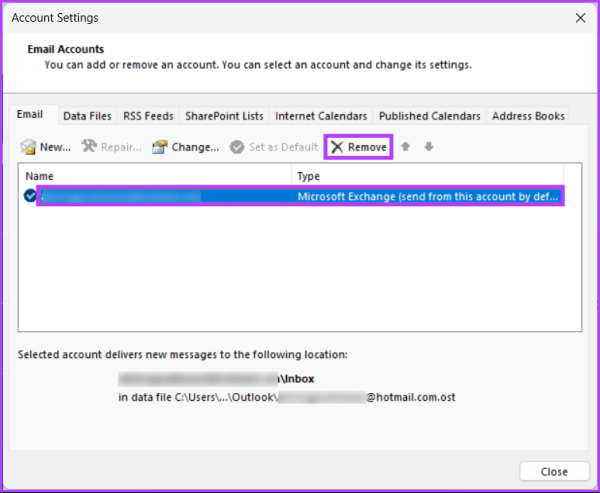
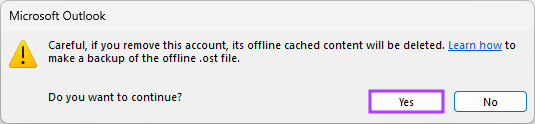
Step 7: In the "Do you want to continue?" pop-up, click Yes.