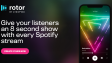
How to Make a Spotify Canvas Like a Pro?
Spotify Canvas enables artists to incorporate short looping videos and animations into any of their songs on the platform. In this tutorial, we'll guide you through creating a custom canvas video to pair with your music.
- Author: Shine
- Update: Jun 17, 2025

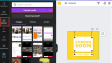
Open the Spotify Canvas Maker
When creating a Spotify Canvas, one crucial aspect is ensuring your video adheres to the required size dimensions and ranges from 3 to 8 seconds in length. You can craft a video that automatically satisfies these requirements by using the Spotify Canvas Maker.
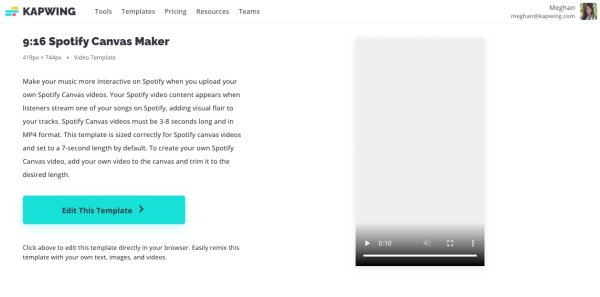
Head to that link or click through using the image above. Click “Edit This Template” to get started.
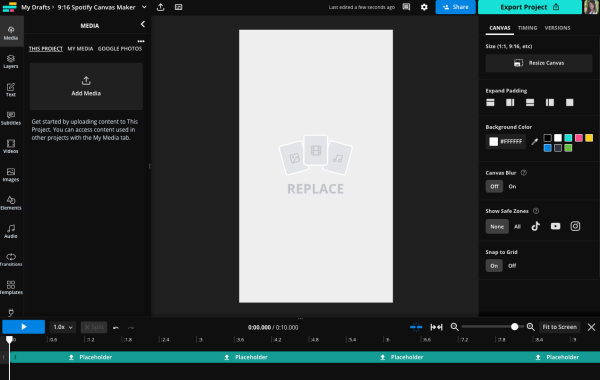
Upload a video or GIF to feature in your canvas
With the Spotify Canvas Maker open, you're set to add the looping visual that listeners will see while streaming your song. Spotify's copyright guidelines explicitly state that you must be the legal owner of any footage used in your Canvas, and it should not include any promotional content.
If you need a visual for your Canvas but lack time to shoot original content, consider using stock videos or royalty-free animations available online. You can leverage the "Videos" tab in Kapwing to search for animations or stock footage that aligns with your song’s mood and vibe. For instance, typing "synthwave" here yielded an animation I liked, as shown in the example.
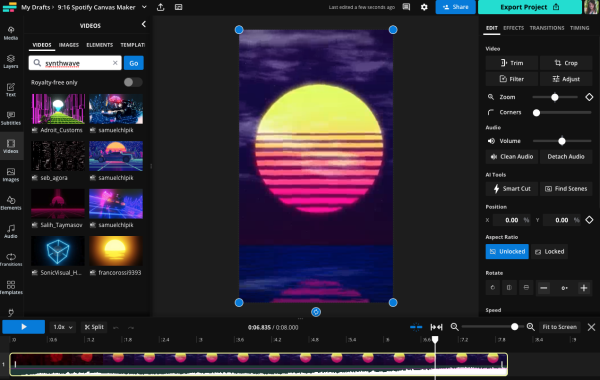
You can also import stock videos from other websites or upload self-filmed footage. To do this, click the "Media" tab in the left sidebar. Use the "Add Media" box to upload files from your device or cloud storage—Kapwing directly integrates with Google Photos and Google Drive. It also supports URL uploads. Just ensure you own the copyright of the video content you link to.
Try filming a few short videos of you or your bandmates standing together or moving around a bit. A selfie-style video can add the perfect amount of personality to one of your songs and even helps listeners put a face to the artist name and voice. And it’s not just amateurs doing this kind of Spotify Canvas.
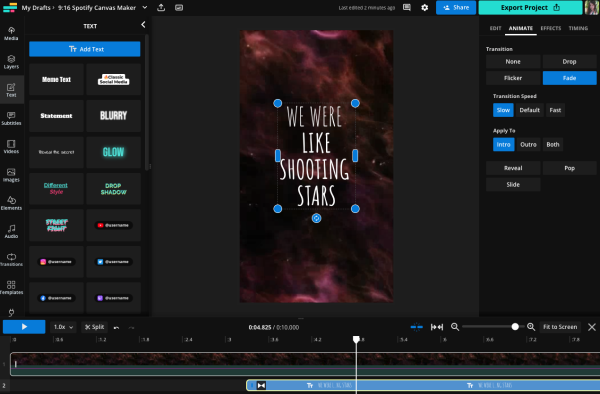
Another common tactic for artists and musicians is using animated text for their Canvas video. Use the "Animate" tab for an image or text layer to bring motion with the song title or the artist's name.
Spotify has written a fairly exhaustive list of canvas best practices and I'd definitely recommend giving it a look before finalizing your video selection.
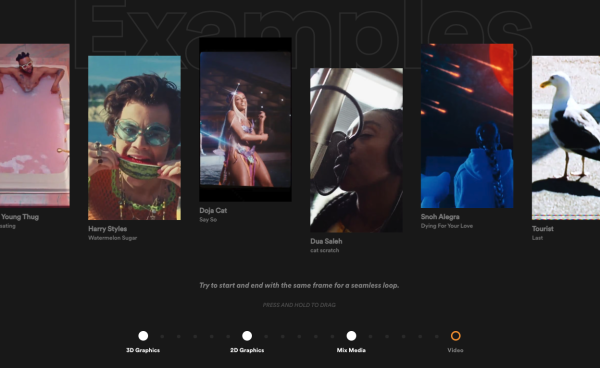
You can also browse a selection of Spotify Canvas examples from other artists if you visit canvas.spotify.com/en-us.
Resize your video and adjust the length
Your video will upload to the Spotify Canvas Maker in its original size and length. This means you'll need to resize the video and possibly trim it to meet Spotify's vertical format requirements.
To do this, simply select the video from the Media tab and drag it onto the canvas. This will automatically crop the video to the template's specified size and length.

If necessary, you can adjust the crop. With the video selected, click the "Crop" button in the Edit menu on the right. Drag the video within the crop preview until the desired portion is aligned on the canvas, then click "Crop" again to save changes.
If you're creating a Spotify Canvas from scratch (not using a template), you may need to trim your footage. Remember, Spotify Canvases must be 3-8 seconds long.
To automatically trim the end of the clip, select the video in the timeline, then click the "Timing" tab in the right-side menu. Set the "End" timestamp to 00:08.000 to trim the video to 8 seconds.

If there's a specific moment in the video you want to highlight in your loop, the Timing tab can help with that too. Input the precise timestamps for the start and stop points of your video loop, ensuring the total duration stays within 3-8 seconds.
To trim the beginning of the video, click and drag the start of the video layer in the timeline to your desired starting point. Alternatively, use the "Split" button to cut the clip, then ripple delete the unwanted section. This removes the selected part and shifts remaining clips to the 0-second mark on the timeline.
Download your Spotify Canvas from Kapwing
Once your Spotify Canvas video is trimmed and resized, you’re ready to download the file and add it to your Spotify for Artists account. When you’ve finished editing, click the Export button in the top-right corner of the screen.

Kapwing will take a few moments to process your video. You can safely close this browser tab or continue browsing the web or working on other tasks while you wait. Once the video finishes processing, you’ll be directed to a final video screen where you can preview it before saving. If you’re satisfied with how the video looks, click the Download button to instantly save your Spotify Canvas to your device.
Upload your Canvas video to Spotify for Artists
It's time to send your canvas up to Spotify and get it added to a song. When you're ready to upload your canvas video, head over to Spotify for Artists and click the Music tab.
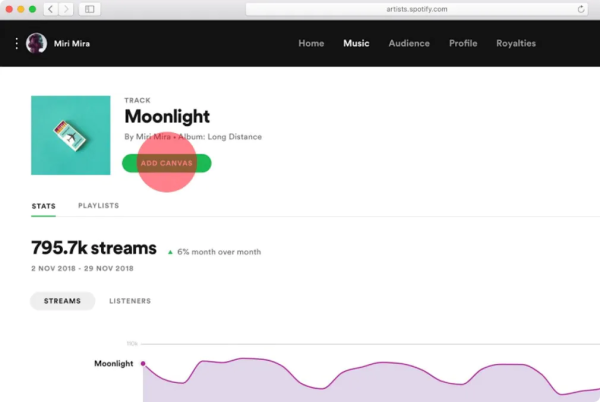
Next, pick a song from your music library and click "Add Canvas." You'll then be able to upload your video straight from your computer or mobile device. You can delete or modify a track's canvas at any time. Just navigate to the song in your music tab and tap "View Canvas."
And that's the whole process. Now it’s time to start adding the Canvas feature to all your Spotify tracks. When you’re on stage accepting a Grammy someday, don’t forget this tutorial and give us a shoutout at @KapwingApp. Until then, we’ll be looking out for your music in our Discover Weekly playlists.