Coolblue - Smart thermostat control
Your one-stop shop for electronics, appliances, and more!

- 2.0.222 Version
- 2.1 Score
- 1M+ Downloads
- Free License
- 3+ Content Rating


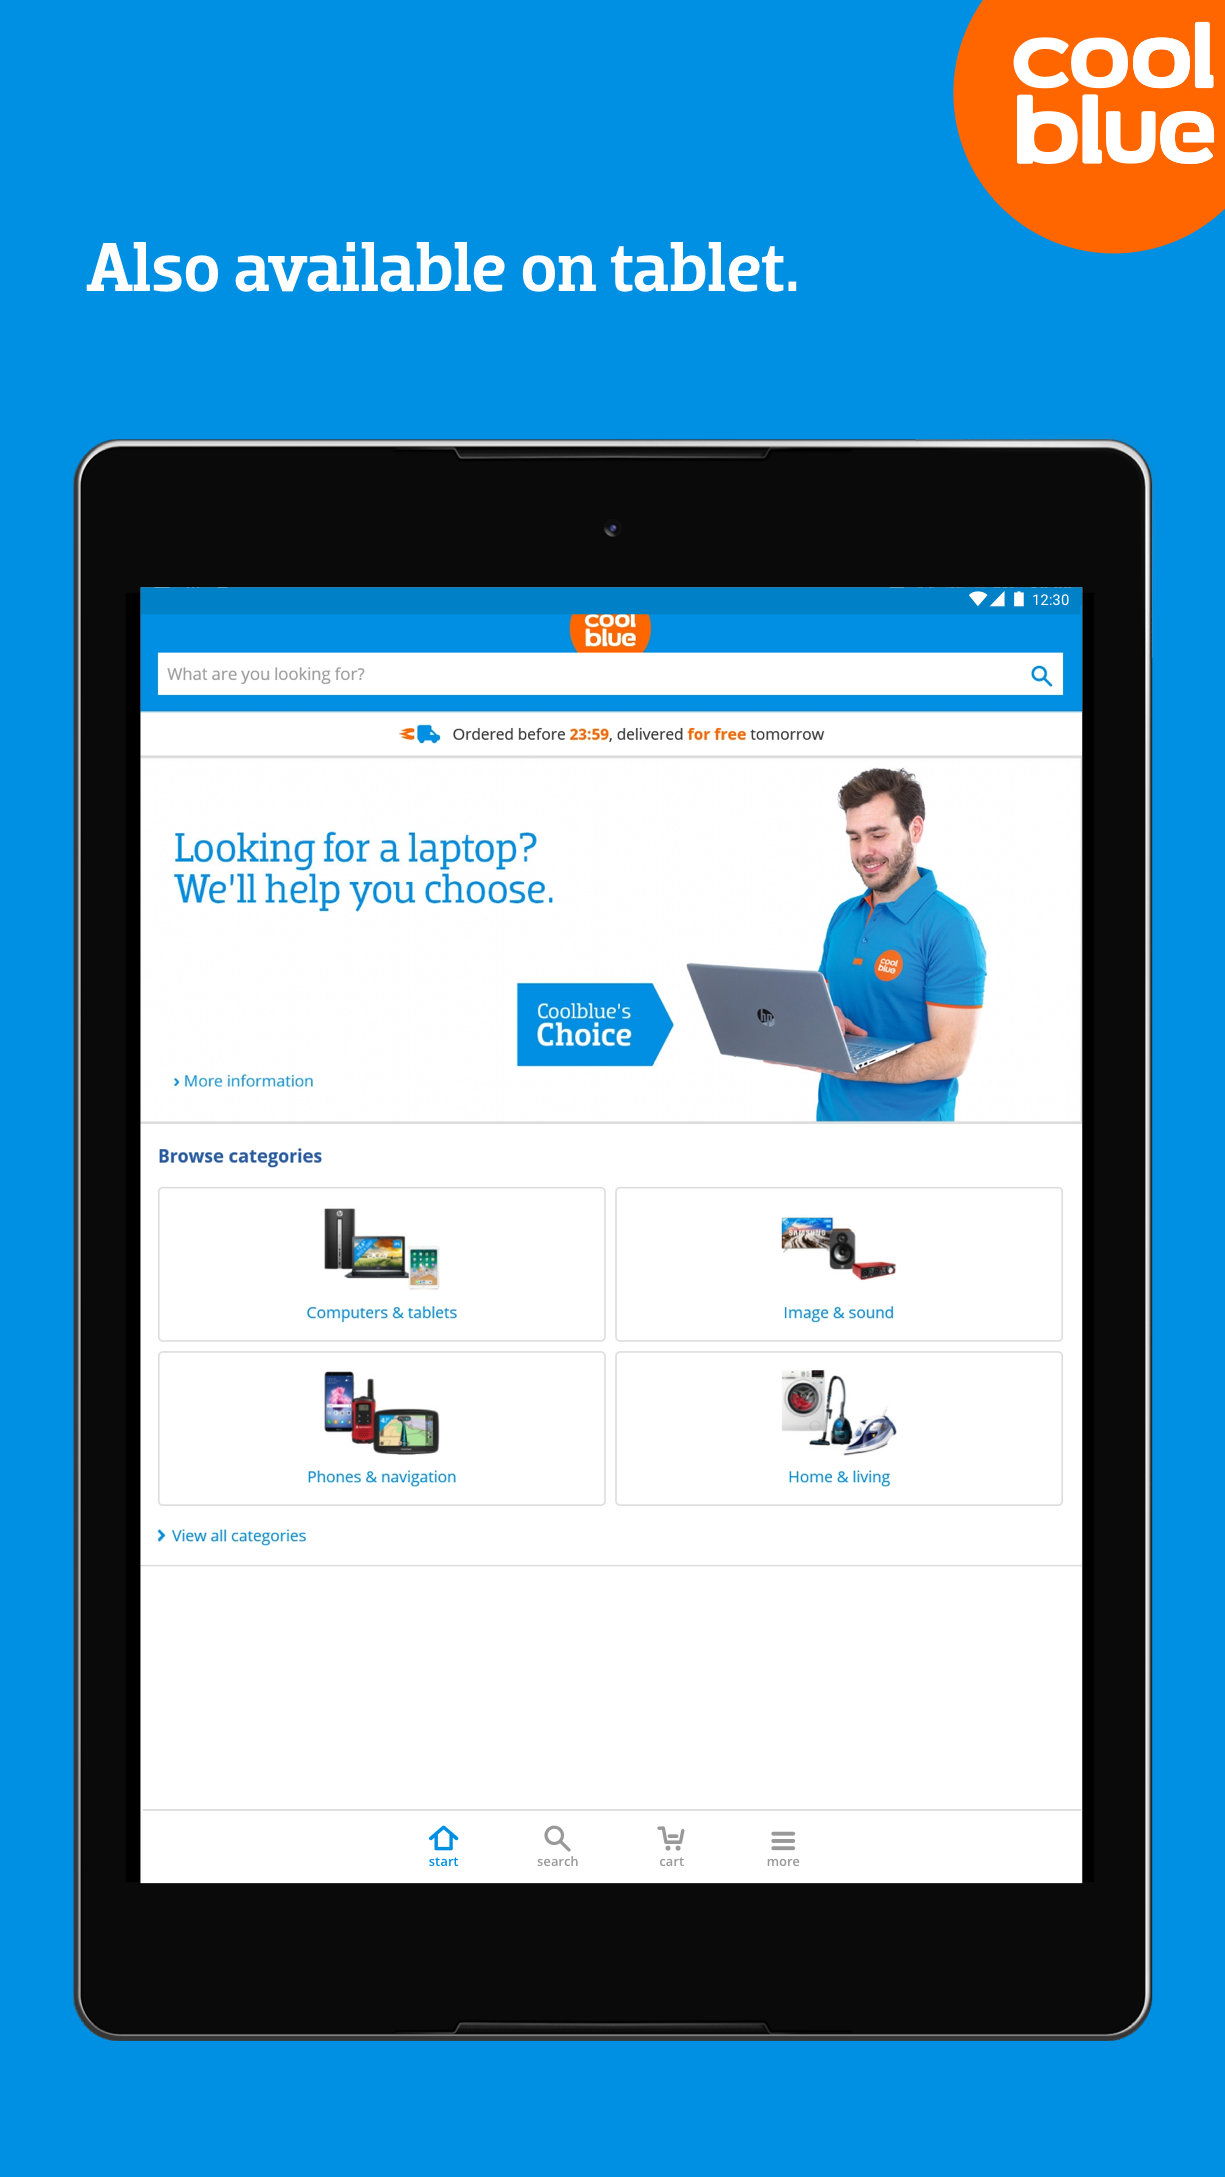
Discover the perfect selection just for you
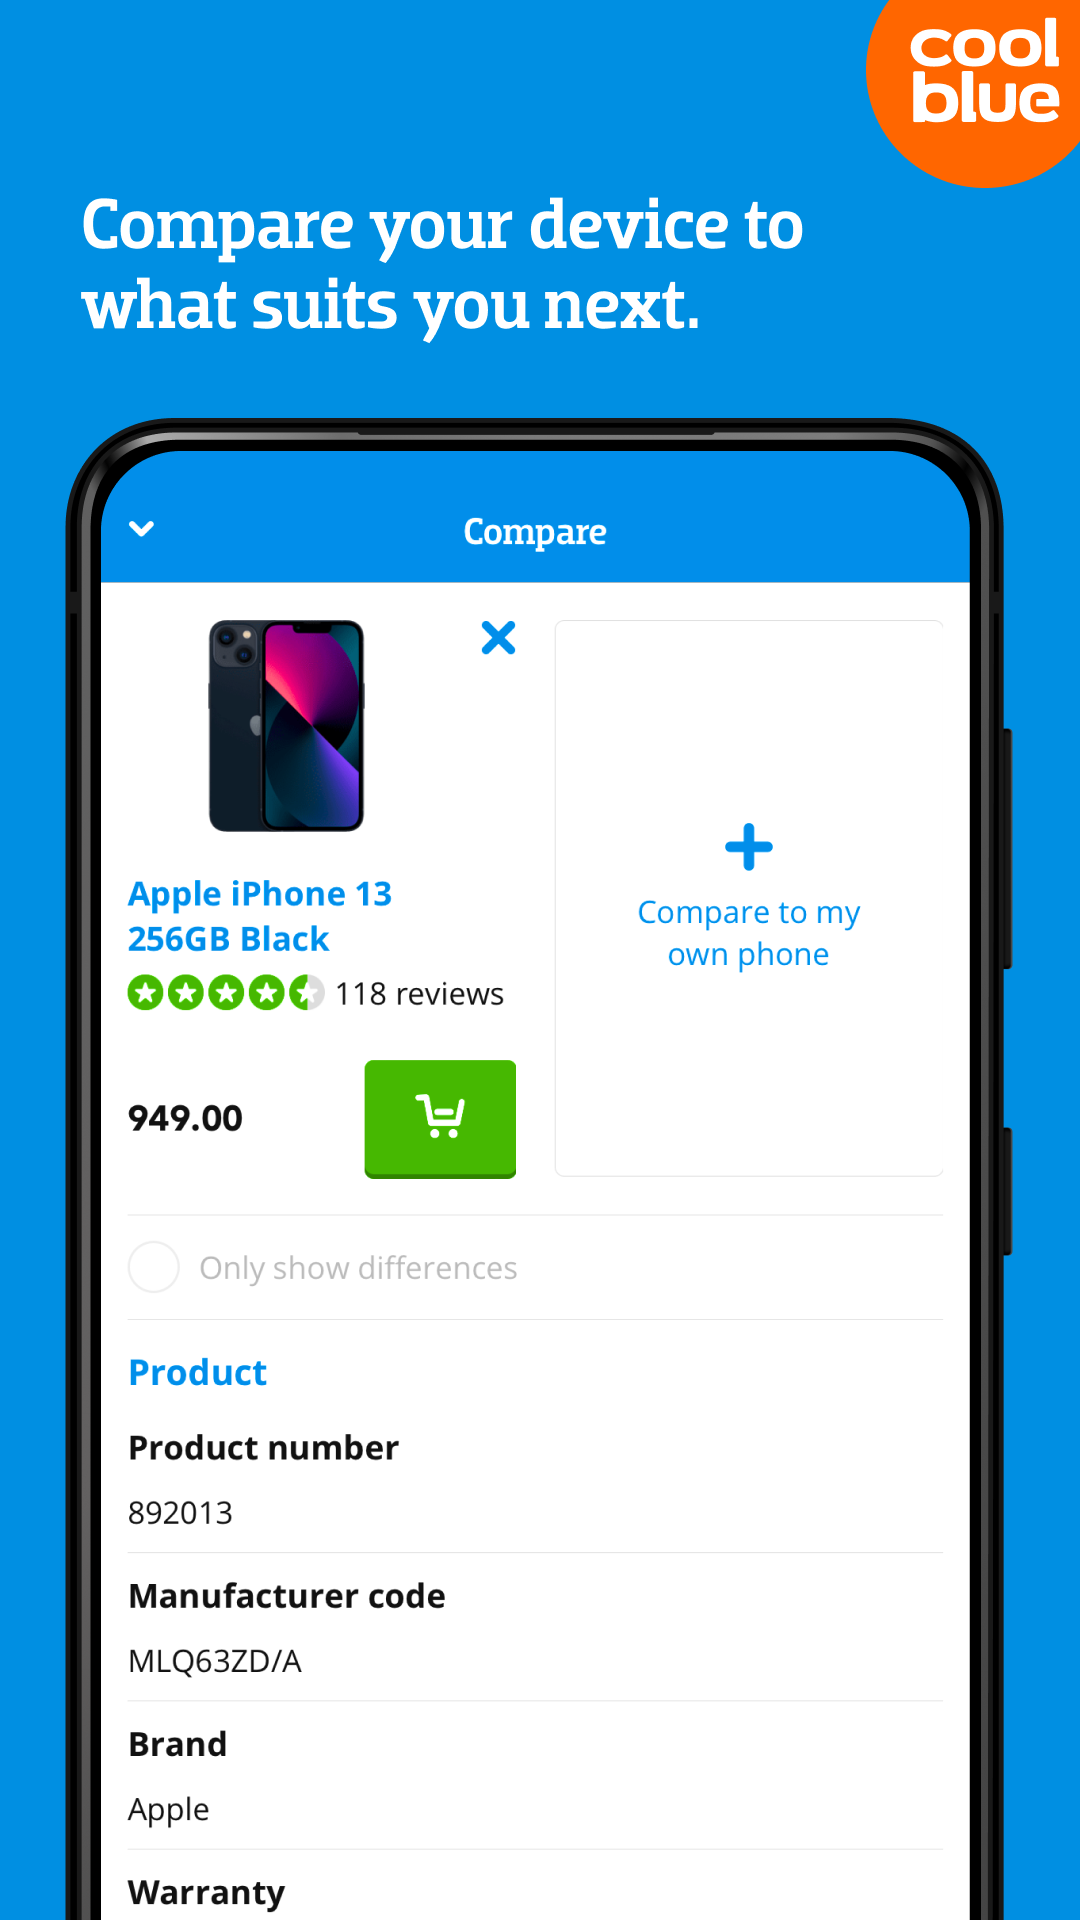
Coolblue app offers a seamless way to identify the most suitable products for your needs. It allows you to compare features and read reviews.
Aside from that, here are some other exciting features:
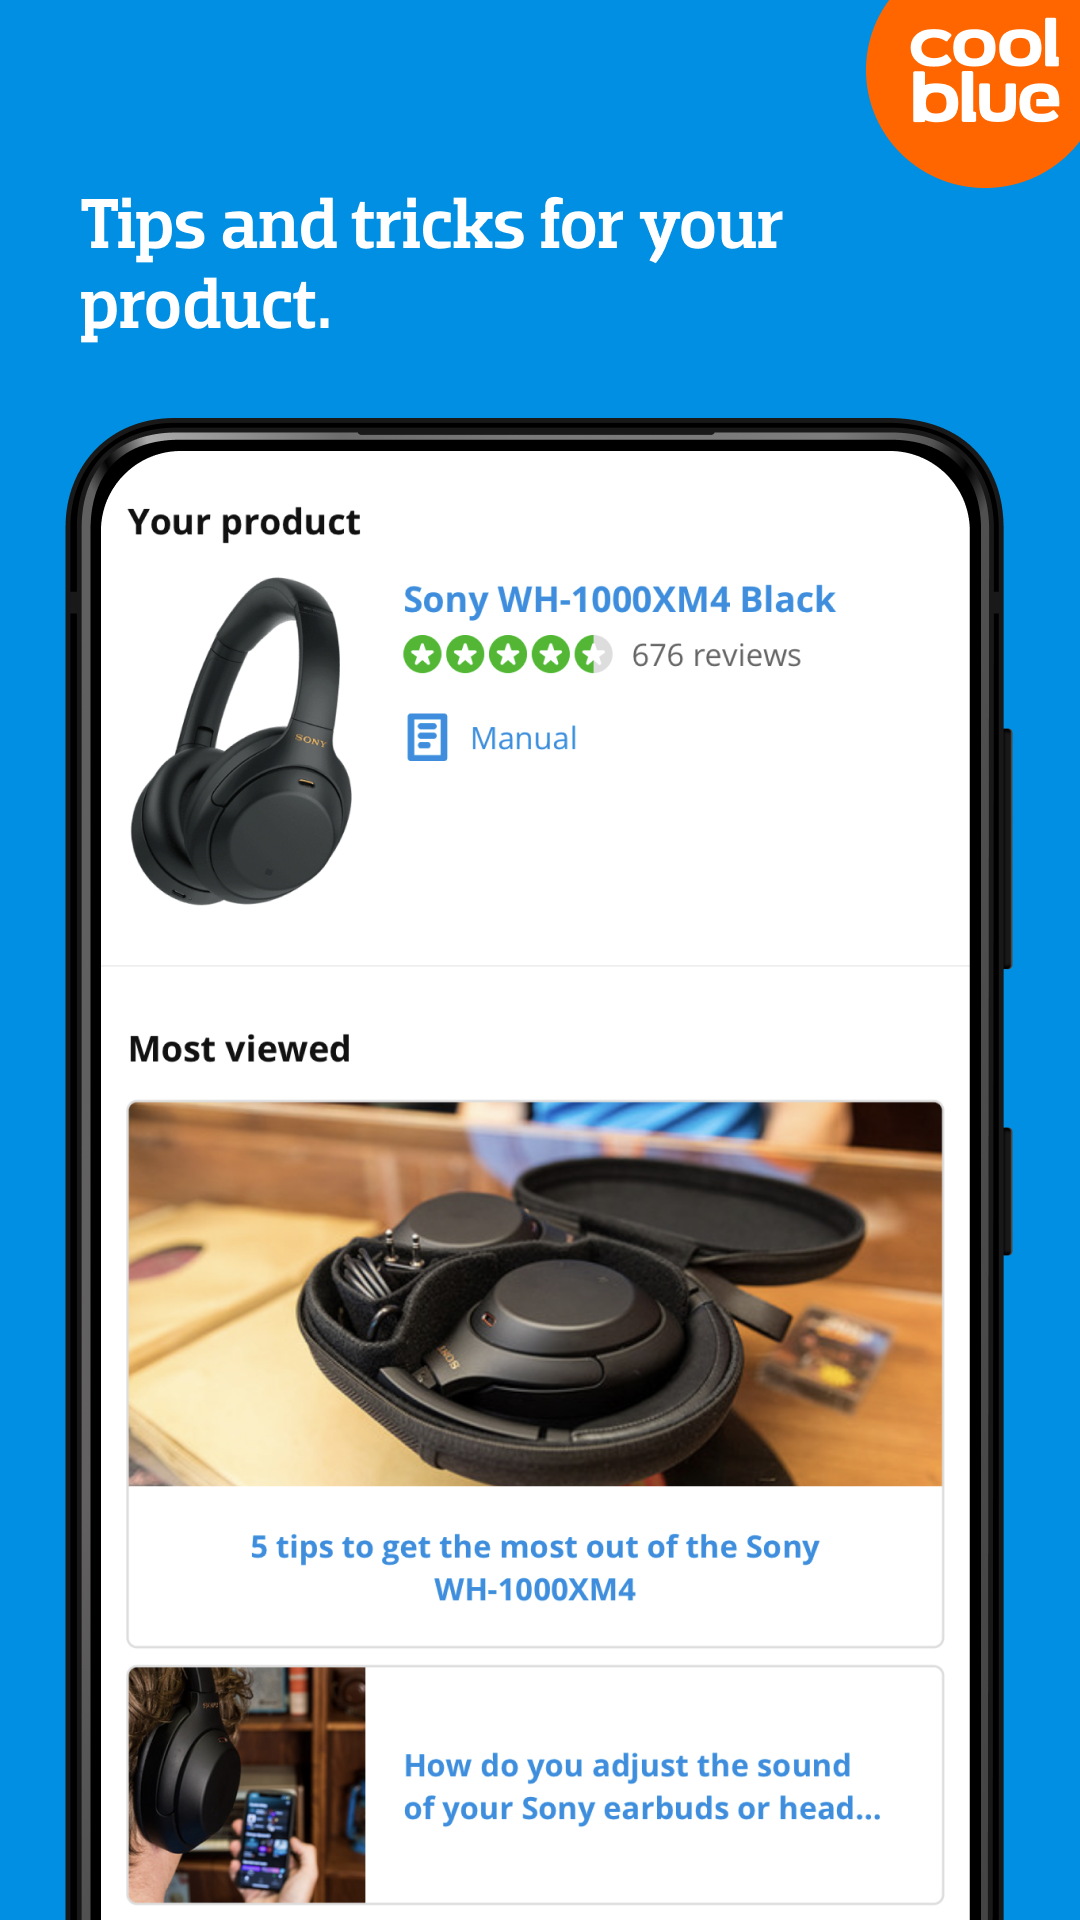
• Access detailed product information accompanied by helpful customer reviews, as well as the advantages and disadvantages of each item.
• Communicate with our Customer Service team for assistance, even if you're wide awake at 11:59 PM and urgently need an update on your washing machine.
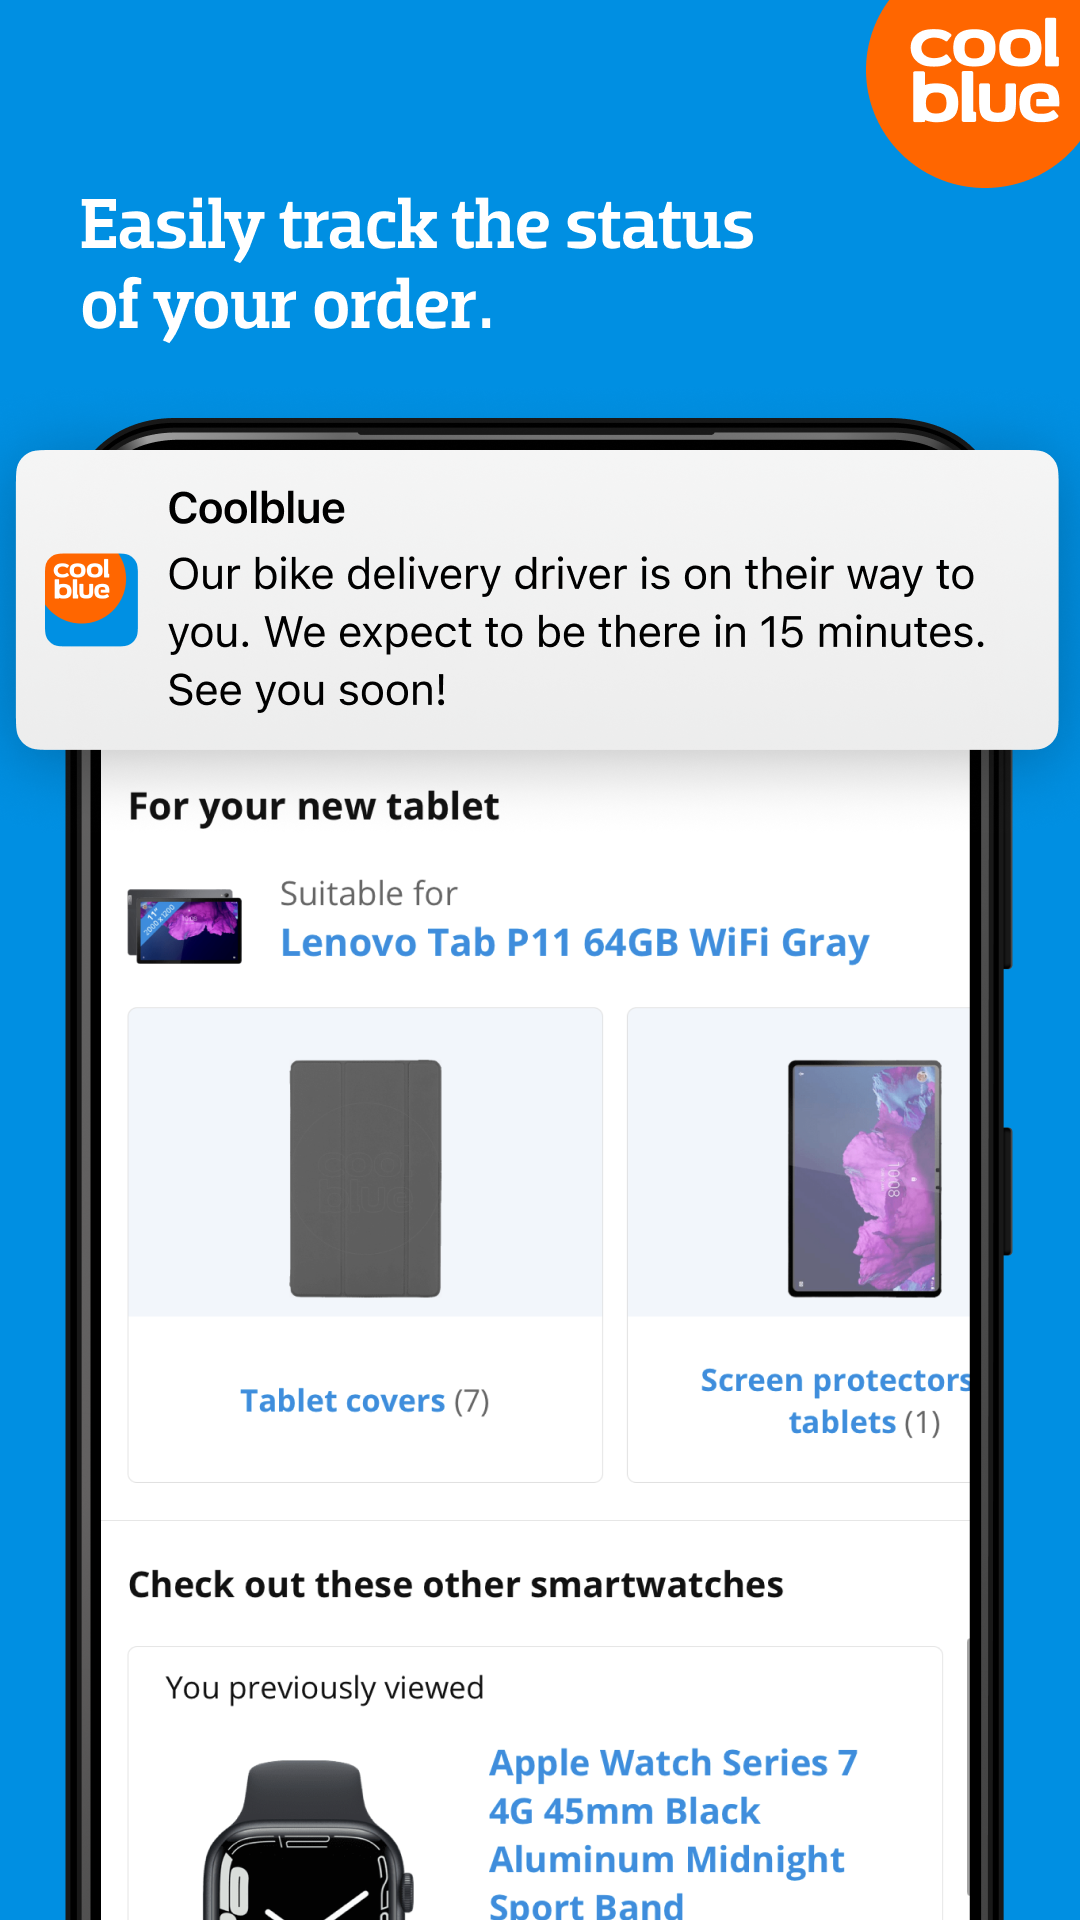
• Easily revisit previously viewed products without the hassle of searching again, as we store your search history.
• Quickly find Coolblue’s top recommended products in one consolidated list.
• Explore the best-selling products, akin to the trendsetters in a school setting.
• Seamlessly log in and out of your Coolblue account at your convenience.
• Use the feature to virtually place TVs in your room for accurate size selection and direct purchase.
We are constantly enhancing the app's functionality, and your feedback is invaluable! For any inquiries or suggestions related to the app, feel free to reach out to us at klantenservice@coolblue.nl.
How do you set up an HP inkjet printer?
You've purchased an HP Inkjet printer and want to use it right away. You first have to install the printer and the HP printer software before you can print your photos and documents. We'll explain how to do this in 6 simple steps.
Before you get started

The setup takes approximately 30 minutes. What do you need?
- An HP inkjet printer
- A4 paper
- Cartridges
- A computer or laptop
- A printer cable if you have a printer without WiFi.
Note: For this article, we use the HP ENVY Photo 6234 All-in-One inkjet printer. The setup of other HP inkjet printers is almost identical. If you encounter differences during the setup, check the manual of your printer.
- Prepare the printer

Before you begin to install your HP printer, you have to unpack and connect your printer, and remove any protective material. You can do this as follows:
1. Unpack your HP printer and remove all tape and protective material from the inside and outside of the printer. Check the manual to make sure you don't miss any material.
2. Plug in the power cord to power the printer. Turn the printer on and choose the correct language on the screen.
3. Add a stack of paper. Note: with some models you have to clamp the paper between 2 plastic sliders that you push inwards.
The printer is now turned on, but it's not connected to a computer yet. In the following steps, we'll explain how to connect the printer.
Step 1. Install the cartridges

It's pretty easy to install the cartridges, but it should be done with care. First, lift the top lid of the printer. With the ENVY 6234, it's located under the scanner unit. You lift it up with the levers on the side. Remove the cartridges from the packaging and make sure you place the right color in the right place. The color is labeled at the bottom of the cartridge. Remove the (orange) sticker from the cartridge and gently push the cartridge into the holder until you hear a click. Close the lid when you have placed all the cartridges.
Note: most printers come with cartridges for setup. These cartridges contain less ink, and they're necessary for setup.
Step 2. Choose a connection method (you can also do this later)

Step 2.1: Connect to WiFi
Go to the WiFi icon on your printer and to Settings. Select the Wireless Installation Wizard and follow the instructions on the screen. It can take up to a minute to connect your printer. You can also choose to connect the printer to WiFi later in the setup via the downloaded software.
Your printer can print a short manual on connecting to a wireless connection if it doesn't work after this step. To do this, press the WiFi icon and then Settings. Select Get started with printing. The printer will print a short manual how to connect the printer step by step.

Step 2.2: Connecting via a USB cable
If you prefer to connect the printer directly to your PC or laptop without using the internet, you can use a USB cable. Plug the standard, flat USB connector (USB-A) into your laptop or PC and plug the square USB connector (USB-B) into your printer.
Do you have a Windows device? First download the software as explained in step 3 before you connect the USB cable. Do you have an Apple device? It's the other way around. First connect the USB cable and then go to step 3.
Step 3. Download the software on your laptop or PC

You've connected your printer. Now, we'll ensure that your computer can control the printer. We'll install the HP Smart app on your laptop or PC. Do you have an HP laptop? This app is pre-installed by default. Go to '123.hp.com' in your browser and enter the product name of your printer, such as 'ENVY 6234'. Download the HP Smart app.
Step 4: Open HP Smart

Open the HP Smart file you've just downloaded from your download folder. If you have a printer that is compatible with HP Instant Ink, the program will ask you if you want to use your trial period almost right away. Enter your personal information to use it. Don't want a trial period or do you already have an Instant Ink subscription? Proceed to the next step.
Step 5: Install software

EasyStart will then ask you which software you want to install. Choose the option 'Full software and drivers' if you want additional software to solve problems in addition to the basic driver. Choose 'Basic drivers' if you only want the driver.
Step 6: installation

Your drivers are now installed on your computer. This can take a while, so feel free to grab a cup of coffee and put your feet on the desk. If you haven't connected the printer to WiFi, then look up your WiFi code or grab a network cable. After this step, the computer will connect to your printer. It's important that your printer is connected to the same WiFi network as your laptop or PC.
Start printing

The printer will connect to WiFi and the installation is done. The printer will first print some test pages to calibrate the cartridges. Afterwards, you can star with your own first print.
Switch off the printer
It's important to turn off the printer when you've finished printing. You can do this by pressing the On/Off button. If you leave the printer on or turn it off in a different way, the printhead won't be protected. If you turn it off the right way, the printer ensures that the printhead is kept in optimal condition. This way, the print quality won't decrease and you prevent that the printer won't be able to print any documents at all.
How do you set up an HP laptop?
You received your new HP laptop. In this article, we'll tell you how to set up Windows on your HP laptop step by step.
Set up new laptop

You can set up your new HP laptop in a few steps. Fully charge your laptop first so it doesn't turn off during the setup.
1. Start the Windows setup
2. Log in with your Microsoft account
3. Follow the instructions from Windows
4. Update your laptop
5. Make your laptop ready for use
Step 1: start the Windows setup

You start the set up with the basic settings.
1. Choose the language you want to use.
2. Select the timezone and keyboard layout. NL/QWERTY: United States, BE/AZERTY: France, QWERTZ: Germany.
3. Connect to a WiFi network.
Step 2: log in with your Microsoft account

After setting up the basic settings, log in with your Microsoft account.
1. Think of a name for your laptop.
2. Choose between personal use or settings for school and work.
3. If you don't have a Microsoft account, create one. If you'd rather not create a Microsoft account, create a local account.
Step 3: follow the instructions from Windows

Go through the last steps of the setup.
1. Set up a password for your laptop. This can be a PIN code or a regular password. If you have a fingerprint sensor or facial recognition, add this now.
2. Do you have an old backup of your previous laptop on your Microsoft account? Choose whether you want to restore the backup now, of if you want to set up the laptop as new.
3. Adjust the privacy settings of your laptop.
4. Personalize the use of your new laptop.
5. Choose whether your want to store your data in OneDrive or locally.
6. If you want to buy and install a Microsoft Office suite, do it now. If you've already bought a suite, you can install it later.
Step 4: update your laptop

As soon as the installation is done, your laptop will start downloading new updates. These updates might take a long time, so make sure your laptop is connected to the charger. Then check whether there are other updates in the settings. As soon as the updates are installed, you can make the laptop ready for use.
Step 5: make your laptop ready for use

Now that you've set up your laptop, you can make it ready for use. Think of which programs you'd like to use and download them from the Microsoft Store or the internet. You're now ready to use your laptop. If you bought your Windows laptop at Coolblue, you'll receive a free year of Norton. With Norton, you can protect your laptop from viruses and other malware.
- Version2.0.222
- UpdateApr 02, 2025
- DeveloperCoolblue
- CategoryShopping
- Requires AndroidAndroid 8.0+
- Downloads1M+
- Package Nameeu.coolblue.shop
- Signaturef4edb773a8732ed6fe1de29308dc28e8
- Available on
- ReportFlag as inappropriate
-
NameSizeDownload
-
62.48 MB
-
62.35 MB
-
62.17 MB


Great to set it to English
clear and easy to use
Very used friendly
doesn't return where leave the lists
complete overview like on the desktop version suggested