XMEye - Monitor & control security
View live video feeds from security cameras on your Android device.
- 6.5.5 Version
- 4.1 Score
- 15M+ Downloads
- Free License
- 3+ Content Rating

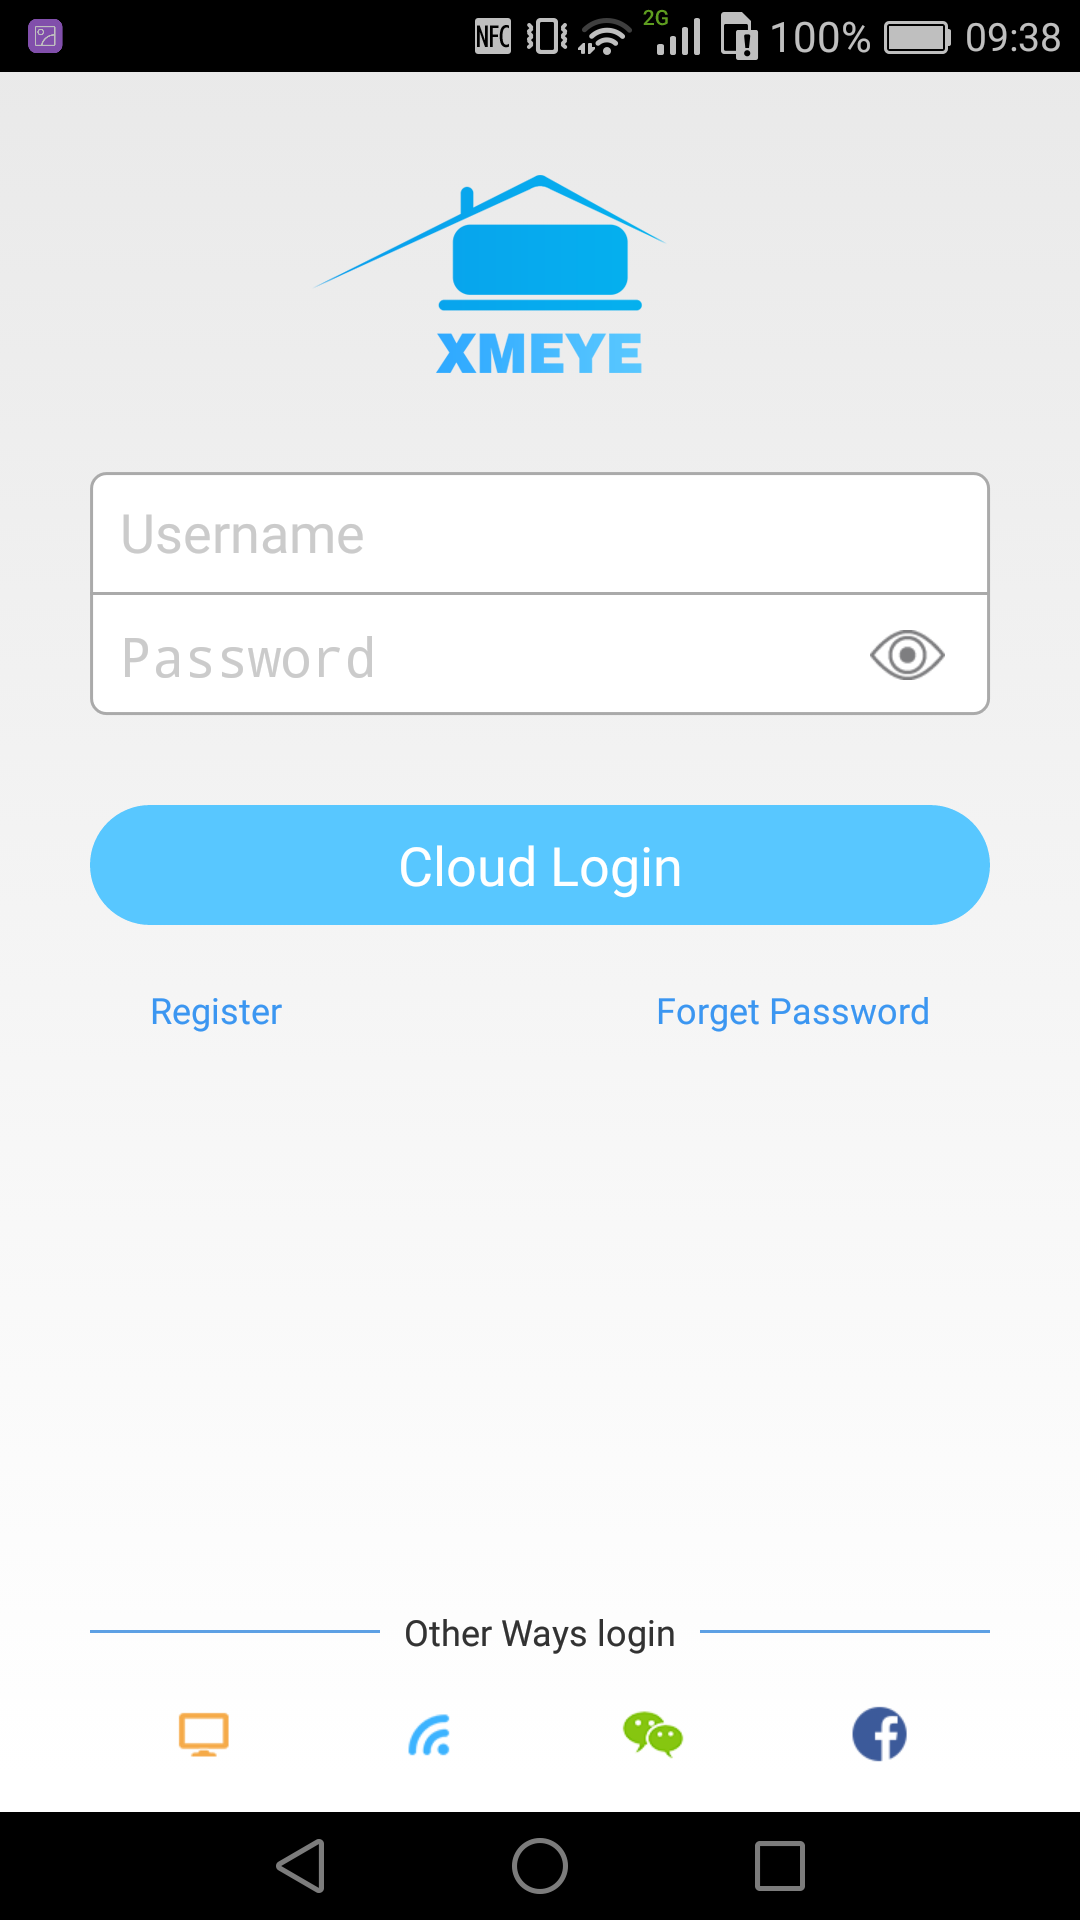
XMEye serves as video surveillance software designed for IPC and DVR systems. Leveraging cloud technology, users can effortlessly access live monitoring video on their Android phones by simply logging in with the device's serial number, enabling them to carry out necessary operations.
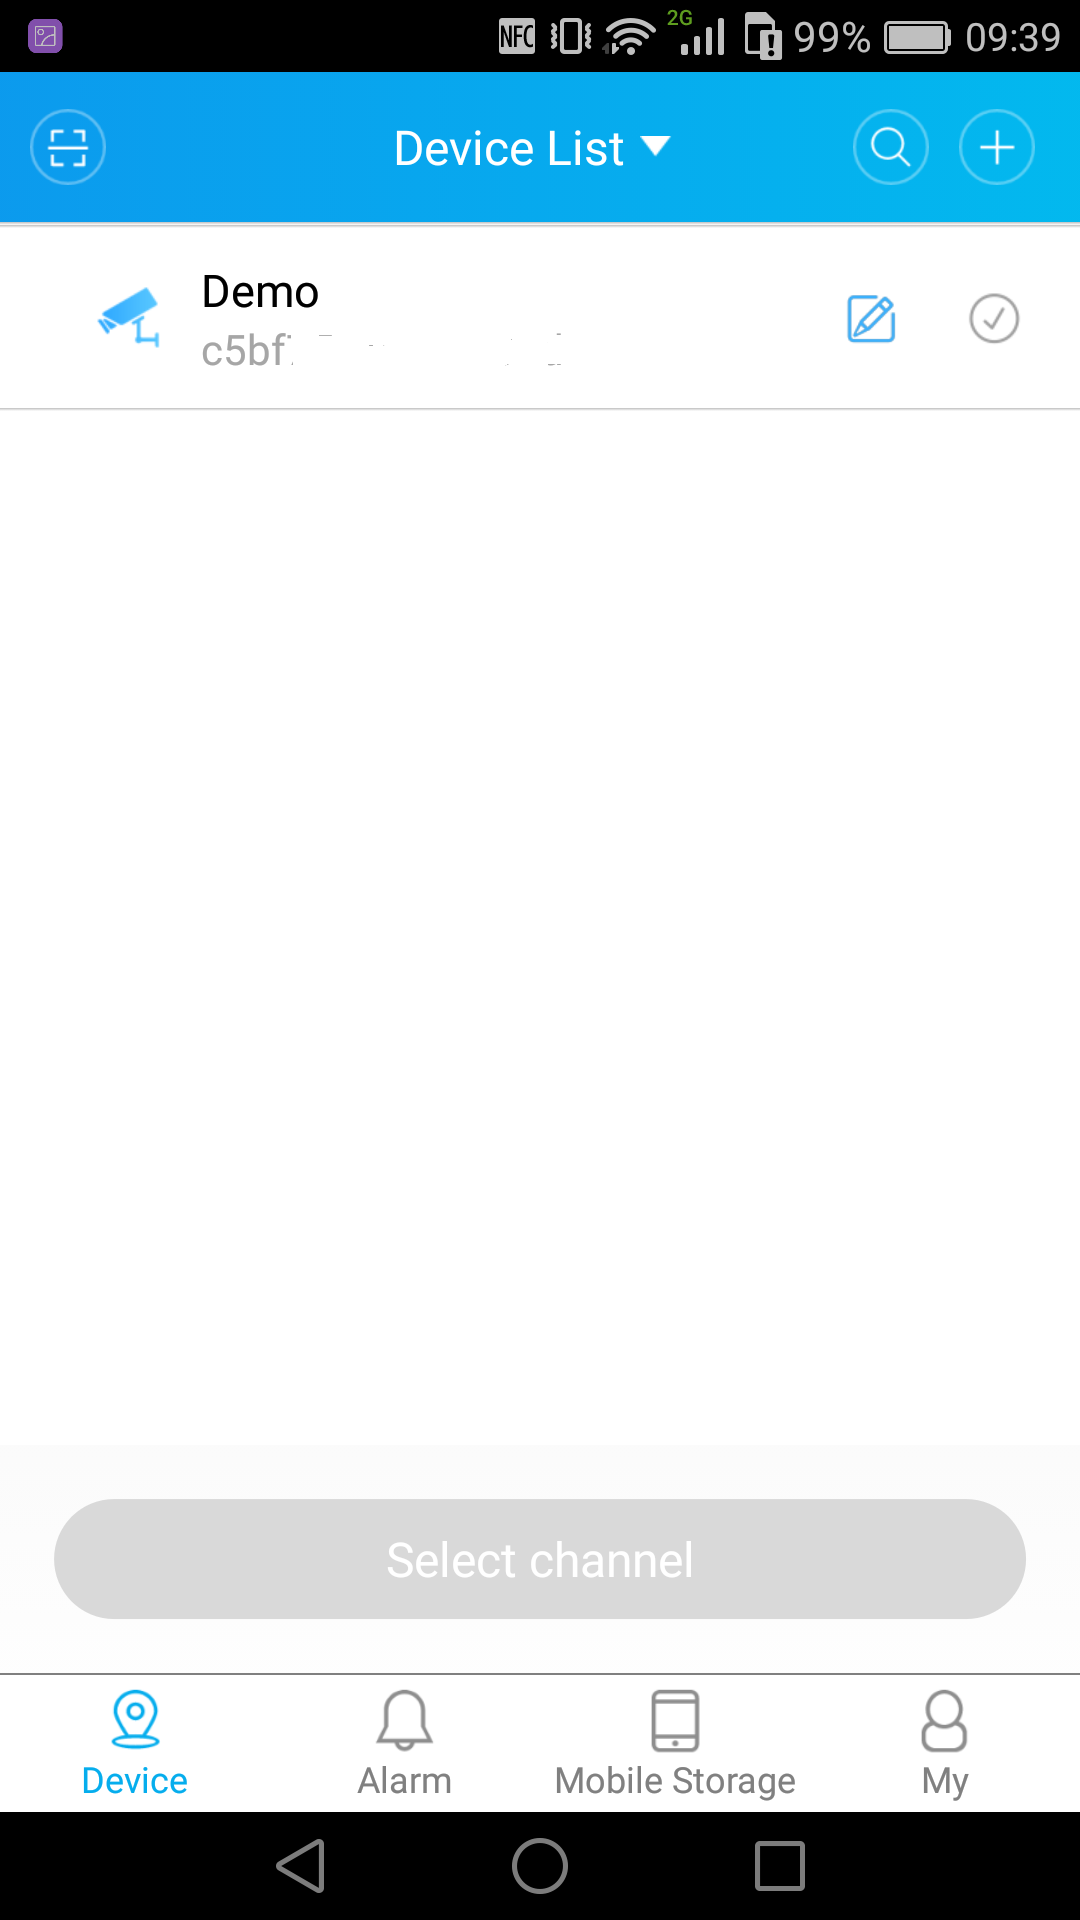
Add the DVR system to the Client
Option 1: Add the DVR system automatically
Please make sure the DVR system and your PC are connected with the same router.
Step 1:
Please log in to the client with the default User Name (admin) and Password (admin).
Step 2:
Click OK to add the DVR system automatically.

Step 3:
Tap YES on the pop-up window of “This operation may modify the device’s IP address, whether to continue?”
Step 4:
The DVR you added will be listed on the interface of Device Manager after 10s searching.
Invalid Password:
The VMS Client cannot load the password of the DVR system automatically, you need to modify it by clicking .
Connected:
The DVR system is ready to use.
Offline:
Please check if the DVR system and PC are connected to the same router.
Timeout:
Network may be disconnected, please click to refresh.
Option 2 : Add the DVR system manually
Step 1:
Click Manual Add at the lower left corner on the interface of Device Manager.
Step 2:
Change the Login Type from IP to CloudID and enter the required information on the interface of Add Device.
Device Name:
Set a name for the DVR.
CLOUD ID:
Also called Serial Number. You can get it from Startup Wizard or by accessing System > Version.
Password:
Enter the password you set for the DVR system.
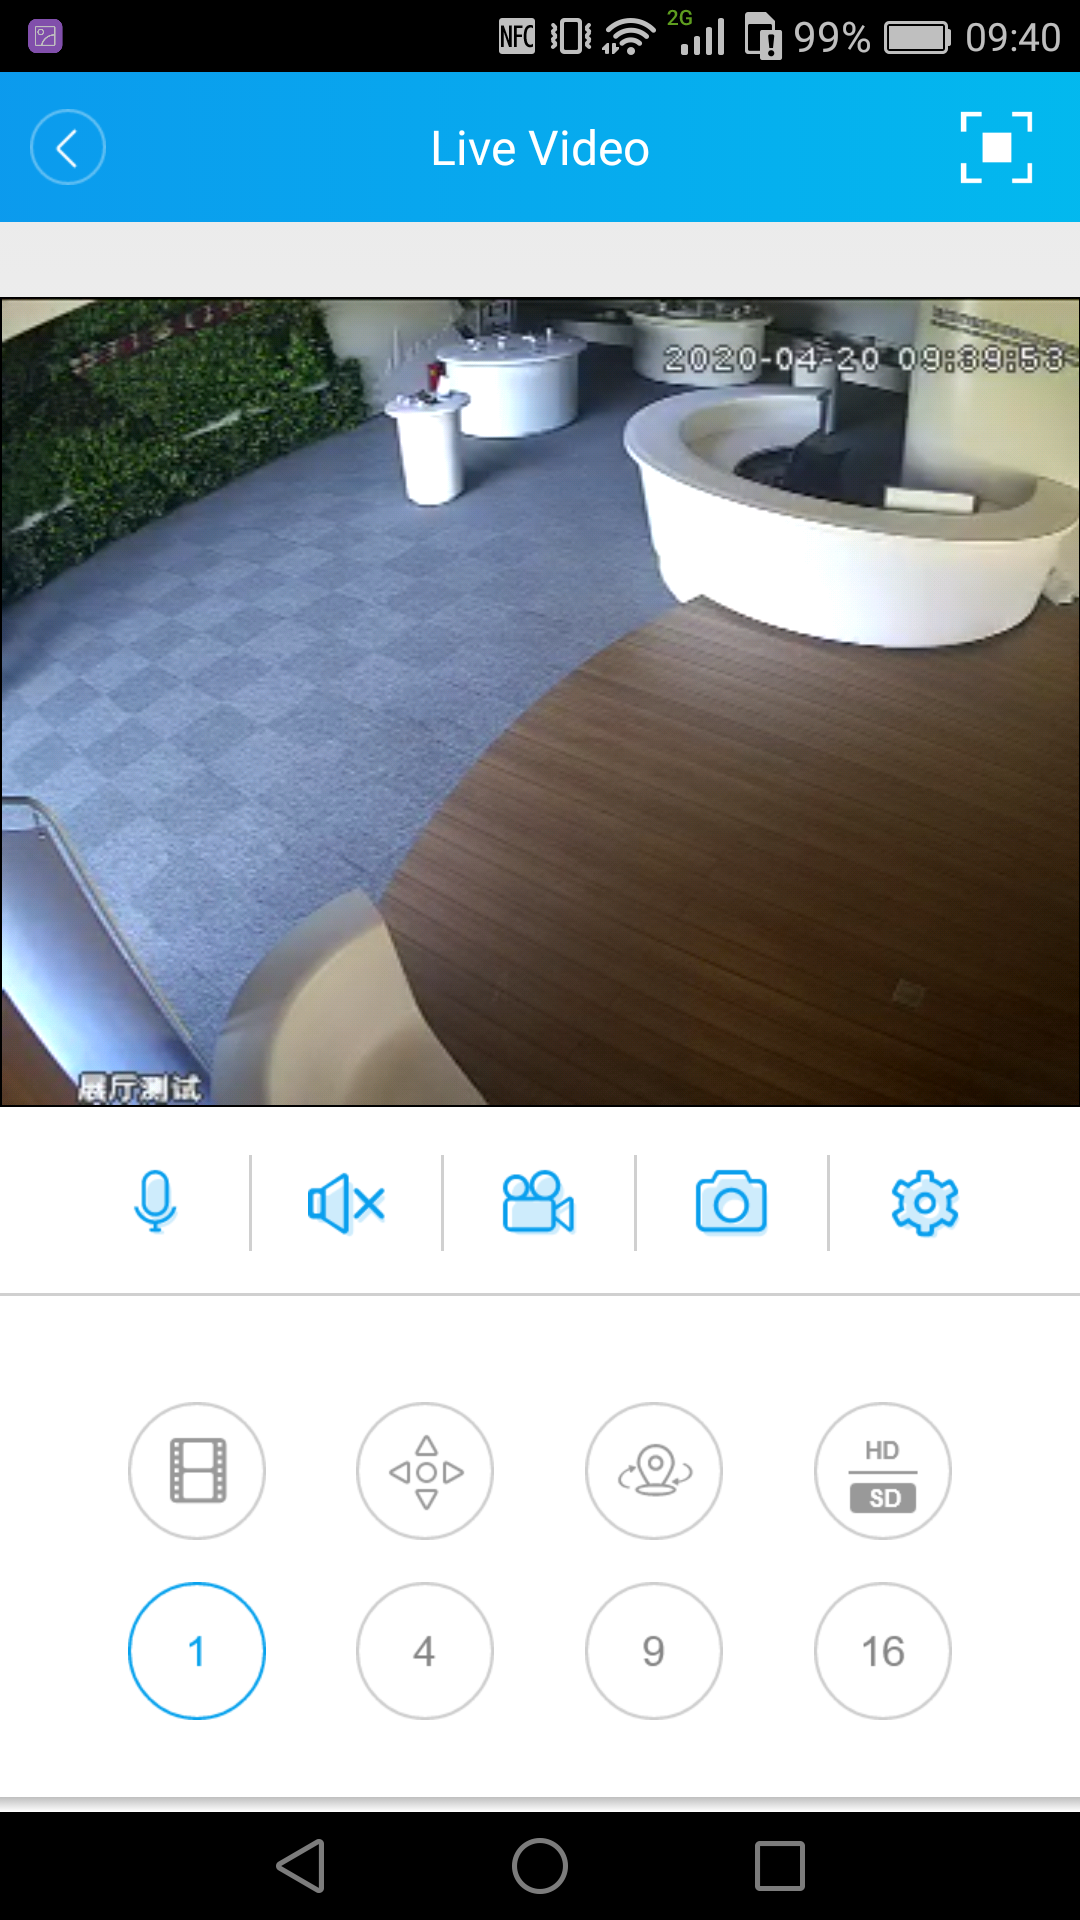
Live Video
Please click Home > Live View to view the live videos from all channels.
Click to select a screen (the selected one will be marked with the white border), then double click to select one channel under the list of Hiseeu, the live video from the channel will be displayed on the selected screen.
For example, select Screen 1 and CAM02, the live video from CAM02 will be displayed on Screen 1.
Double click on one screen to show the channel in full-screen mode, double click again to exit full-screen mode.
Video Recording
You can go to Home > OPERATION > Record Settings to set the disk in which the video will be saved for VMS Client.
Please go to Home > ADVANCE > Record Plan to set the detailed record plan.
Notes:
You need always log in to VMS Client for saving the videos into the Disk of your PC.
Select D:/ to save the videos in case of insufficient disk space and abnormal situation of your PC.
The disk of PC is not designed for surveillance need and long-time recording may cause damage to your disk.
If using VMS Client to record videos is inevitable, it’s advised to use the dedicated server and hard disk for surveillance.
Support:
log in with cloud technology
real time live view
remote playback
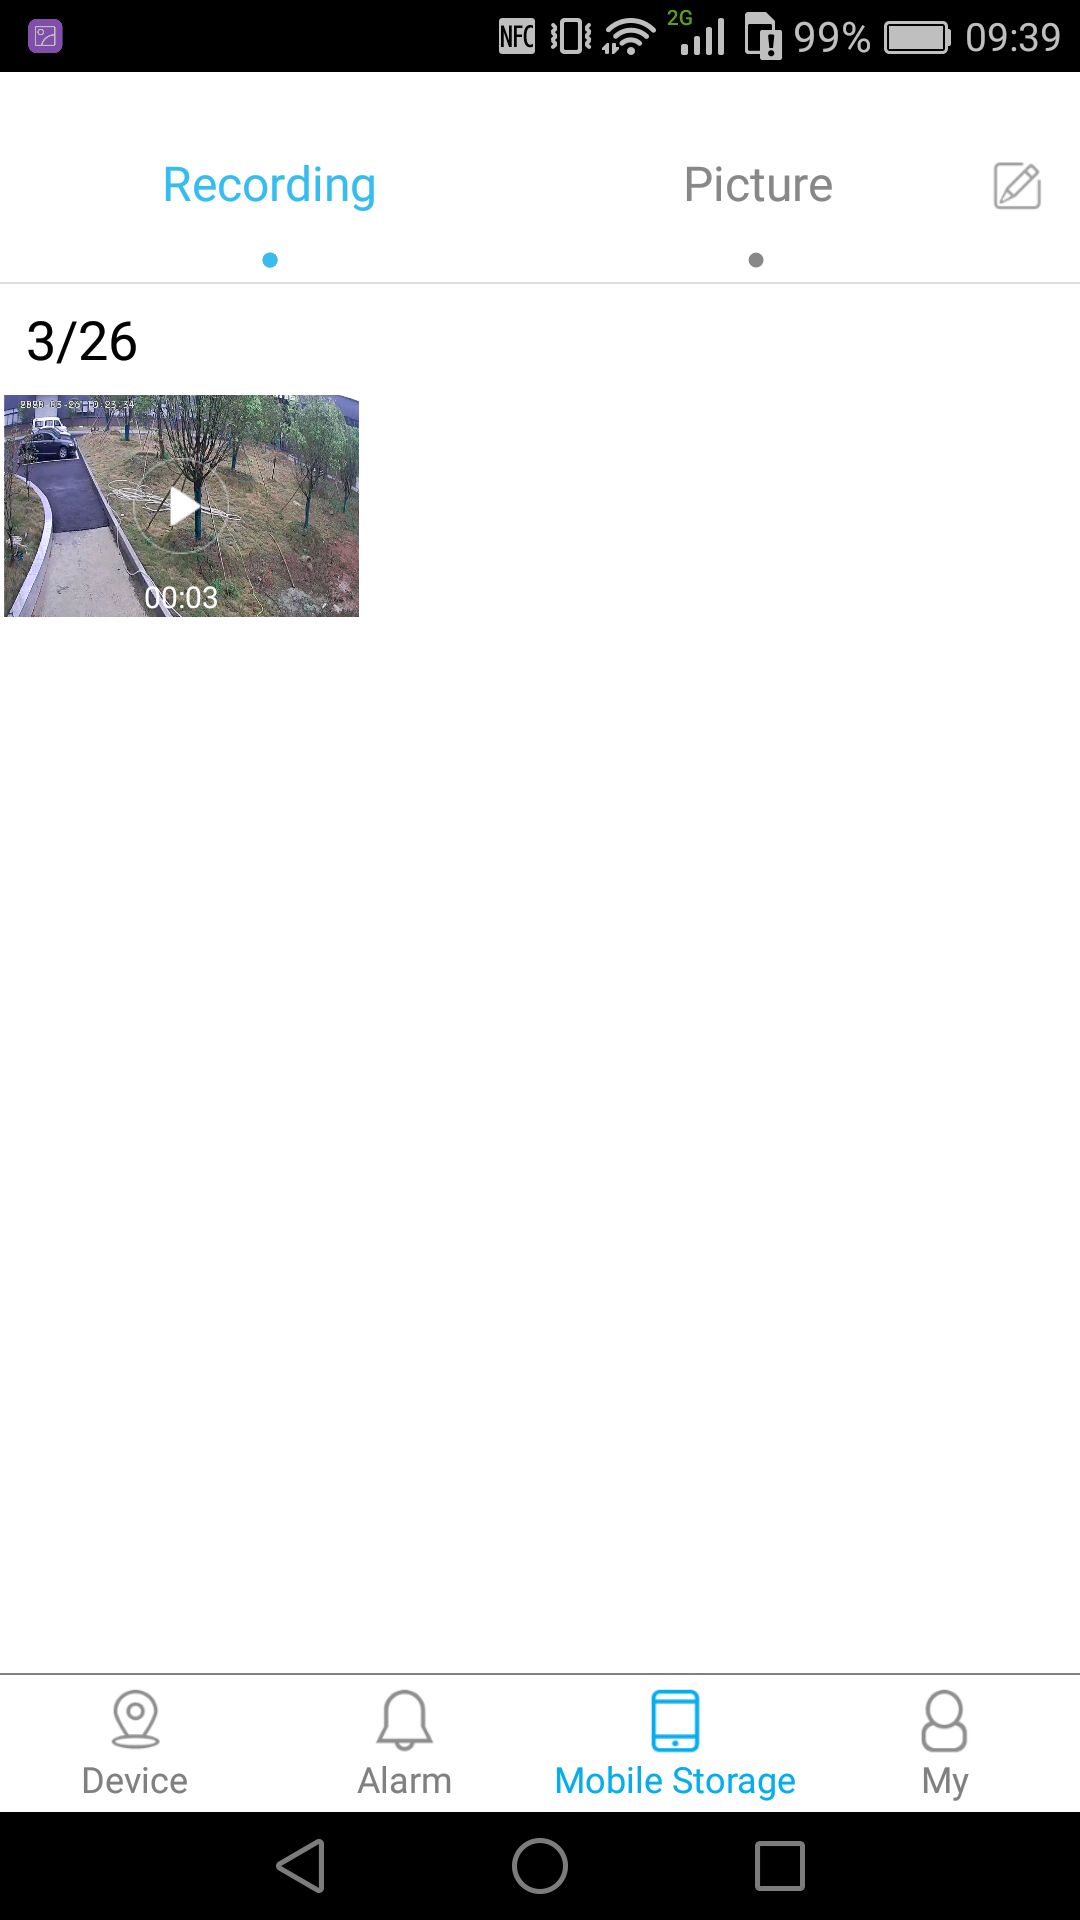
Local recording and play
snapshot and pictures searching
bidirectional talk
PTZ control
scanning serial number by QR code
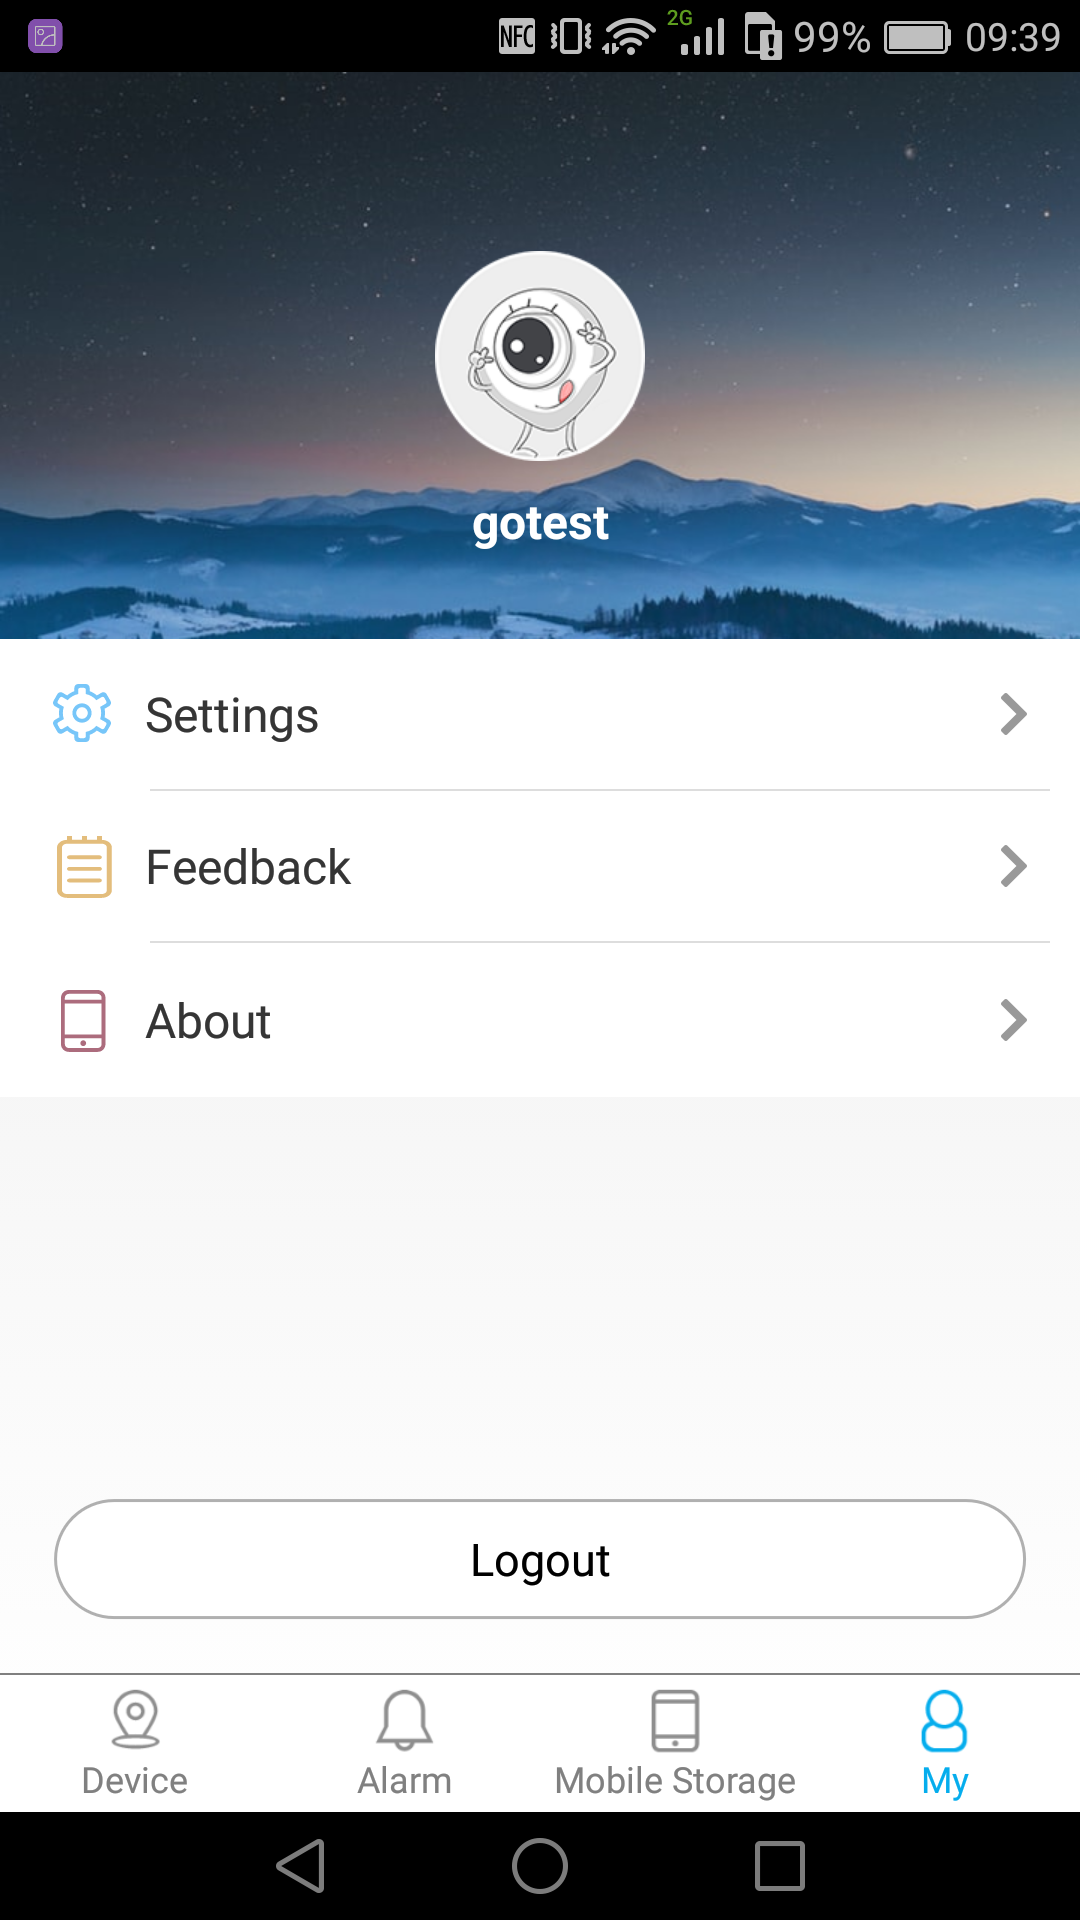
cloud user register and modify
remote device add, edit and delete
local device add, edit and delete
adding device by address
manually searching device in LAN
version updating automatically
searching device function by shake
- Version6.5.5
- UpdateDec 16, 2024
- DeveloperJFTECH CO., LTD.
- CategoryTools
- Requires AndroidAndroid 6+
- Downloads15M+
- Package Namecom.mobile.myeye
- Signaturebdd02502c921ea6da2aebe09ac0405b3
- Available on
- ReportFlag as inappropriate
-
NameSizeDownload
-
109.54 MB
-
109.46 MB
-
34.49 MB


A variety of systems can be connected
Easy to install
Unable to get screen recording permission
there is large delay in operation when moving
a huge security & privacy flaw